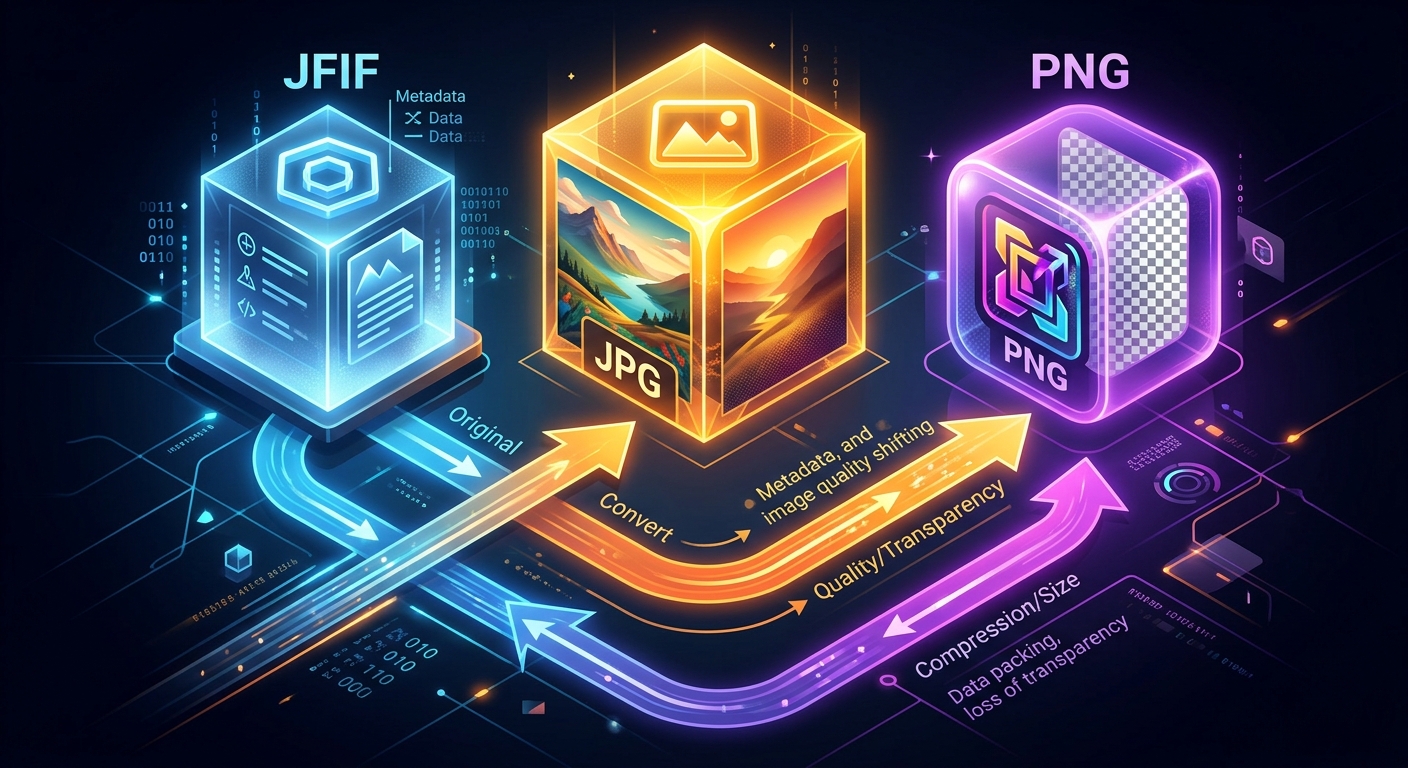
You saved a photo from a website. You tried to upload it somewhere else. It got rejected. You looked at the filename and noticed it ended in .jfif instead of .jpg. Now you are wondering what that even is, whether it is the same as a .jpg, and whether the .png file your designer sent you is somehow different from all of this. The confusion is completely understandable. The naming history behind these formats is genuinely messy, and the way Windows handles image saving makes it worse. Once you know what each format actually does, though, every upload error and file rejection starts to make perfect sense.
Three Things to Know Right Now
- JFIF files are technically JPEGs stored in a specific container format, so they hold the same compressed image data as any standard .jpg file.
- JPG and JPEG are the same format with different extension lengths, a leftover quirk from older Windows systems that capped file extensions at three characters.
- PNG uses lossless compression, which means it never discards image detail, making it the better choice for screenshots, logos, and graphics with transparent backgrounds.
The JFIF Mystery Explained
When you right-click an image in Microsoft Edge or save a photo through certain Windows applications, the operating system often saves it as a .jfif file rather than a .jpg. JFIF stands for JPEG File Interchange Format. It is a specific set of rules that defines how a JPEG image should be packaged and stored so that different programs and devices can open it reliably across platforms.
The JFIF standard was developed in the early 1990s to create consistency around how JPEG-compressed images were saved and shared across different systems. Before it existed, developers had real freedom in how they wrapped JPEG data, and that freedom created compatibility headaches. A file saved by one piece of software might look wrong, or not open at all, in another. JFIF fixed that by defining a standard container structure that any compliant program could read without guessing.
Here is the part that matters for you practically. The actual image inside a JFIF file is compressed exactly the same way as any standard JPG. The JFIF part is just the outer packaging. It is the same picture in a slightly different wrapper. The reason Windows and Edge produce .jfif files is that they follow the JFIF packaging standard quite strictly. Other browsers and applications often save the same kind of image with a .jpg extension. The end result is that you get a file that looks unfamiliar and gets rejected by upload forms, even though the image data inside is perfectly standard.
Why JPG and JPEG Are Exactly the Same Thing
JPG and JPEG are two names for one format. JPEG stands for Joint Photographic Experts Group, the committee that created the compression standard in the late 1980s. The format took the committee's name as its identifier, and it became one of the most widely used image formats in history.
Originally, the file extension was .jpeg. But older versions of Windows used the FAT file system, which enforced a hard limit of three characters for file extensions. Since .jpeg is four characters, Windows shortened it to .jpg. Unix and Mac systems never had that restriction, so they kept using .jpeg. Over time, .jpg became so dominant on Windows that it stuck around long after the three-character limitation became irrelevant to modern operating systems. Both extensions point to exactly the same file structure.
Today, .jpg and .jpeg are completely interchangeable. Any program that opens one opens the other. Websites and upload forms treat them identically. If you have ever suspected that one produces sharper images than the other, it does not. They are the same format, the same compression algorithm, the same result. The only thing that differs is the number of characters in the extension, and that difference has not mattered since the mid-1990s.
How JPEG Compression Handles Your Photograph
JPEG compression is what is called lossy compression. When you save an image as a JPG, the compression process analyzes the image and permanently removes detail that the human eye is unlikely to notice at normal viewing sizes. High-frequency detail in smooth background areas, subtle tonal variations, fine noise in shadows, those are the kinds of information that get removed. The result is a much smaller file that looks almost identical to the original in everyday use.
The tradeoff is that once detail is removed, it is gone. Every time you open a JPG and resave it as a JPG, it compresses again and loses a little more. This is called generation loss, and it is worth keeping in mind if you plan to edit an image repeatedly. For photographs you save once and share, generation loss is rarely noticeable. For images destined for repeated editing or print reproduction, starting from a lossless format protects you.
The Joint Photographic Experts Group originally designed this compression approach specifically for photographic images, where smooth tonal gradients in a real-world photo absorb compression artifacts far more gracefully than hard-edged graphics or crisp text can. That design decision explains a lot about when JPG works beautifully and when it does not.
What PNG Does Differently with Your Image Data
PNG stands for Portable Network Graphics. Unlike JPEG, which compresses images by permanently discarding visual detail, PNG uses a lossless compression method. Lossless means the file is made smaller through compression, but no actual data is thrown away. When you open the file again, you get back every pixel exactly as it was originally saved, without any rounding, blurring, or artifact introduced by the process.
The PNG specification was designed to support true full-color images with optional transparency and to produce files that compress and decompress without any loss of quality. That transparency feature, built into PNG through something called an alpha channel, is one of the most practically useful things that sets PNG apart from JPG in everyday work.
Because JPEG throws away detail during compression, it tends to produce visual artifacts around sharp edges and text. You have probably seen this as blurry or blocky halos around letters in a screenshot saved as a JPG, or a smeared edge around a logo. PNG avoids this entirely because it keeps all the original pixel data locked in. A screenshot saved as PNG looks exactly like what was on your screen. A screenshot saved as JPG often shows noticeable degradation around any text or fine lines.
When PNG Beats JPG for Your Specific Situation
Screenshots belong in PNG. When you capture text on a screen, a navigation menu, a form, a user interface, or a chart from a spreadsheet, the image has hard edges and large areas of flat color. JPEG compression smears those edges and introduces color noise around every letter. PNG keeps every character crisp and every edge precisely where it was when you took the screenshot. If you have ever seen a screenshot where the text looks slightly fuzzy or surrounded by a faint colored haze, that is JPEG compression at work.
Logos, icons, and graphics with transparent backgrounds need PNG. JPG has no mechanism for transparency at all. If you try to save a logo with a clear background as a JPG, every transparent pixel becomes a white fill. The logo loses its clean edges against any background that is not white, and it looks amateurish in any design context. PNG handles transparency natively, which is why graphic designers always deliver logos and icon assets as PNG files rather than JPGs.
If you already have a JPG file and need a PNG for an upload, a design platform, or a site that requires a transparent background, running a JPG to PNG conversion through a free online tool is the most direct fix available. You upload the JPG, the tool produces a PNG, and you download a file that passes any format check that accepts PNG. No software installation required, no accounts to create.
One realistic note worth keeping in mind: converting a JPG to PNG will not recover detail that the original JPEG compression already removed. The PNG will be a clean, lossless copy of whatever the JPG currently contains. For fixing upload errors, preparing a file for a design platform, or getting a graphic accepted by a web application, that is exactly what you need.
Why Upload Sites Reject JFIF Files
Most upload forms on social media platforms, job application portals, and web applications are built to accept .jpg and .png files. They check the file extension as a first filter. A .jfif file, even though it contains a valid JPEG image inside, often gets stopped at that check because the platform does not list .jfif as an accepted type. The image itself is fine. The extension is the problem.
The most straightforward fix requires only Windows Paint. Open the JFIF file in Paint, go to Save As, and choose JPEG from the format dropdown. You get a .jpg file with the same image inside. The content does not change. The container changes just enough to satisfy the upload form's extension check. This takes about thirty seconds and requires no additional software.
If you would rather handle it online, a free converter produces the same result. Upload the .jfif file, select JPG as the output format, and download a file that any standard upload form will accept. The image quality remains the same throughout this process because you are simply changing the packaging, not the image data.
Matching Each Format to What It Was Built For
JPG is the right format for photographs. It compresses real-world photos efficiently, keeps file sizes manageable for email and web use, and is accepted by every platform, device, and application that handles images. The quality loss from JPEG compression is invisible in real-world photographs unless you apply the most aggressive compression settings available.
PNG is the right format for anything that has text, hard geometric edges, transparent areas, or was generated on a computer rather than captured by a camera. Screenshots, diagrams, logos, interface mockups, and any image you plan to edit repeatedly all belong in PNG. The files are larger than JPG equivalents, but every detail stays locked in precisely, ready to be used without any accumulated degradation.
JFIF is not a format you choose. It is a format that gets handed to you by Windows or certain browsers as a side effect of how they save images. When it causes a problem on an upload form or a platform rejects it, converting to JPG takes under a minute and resolves the issue completely. Understanding what each of these three formats was built to do makes every image problem easier to diagnose, and every fix faster to apply.